ARMS
BUBBLE
BRAIN
CHEST
COLLAR
DONUT
KNEES
KNOB
LEGS
MICROPHONE
NEON
POWER PACK
PROG. BAY
RADAR
SPINNERS
TORSO
TORSO HOOK
TREAD
VENT
         

TORSO

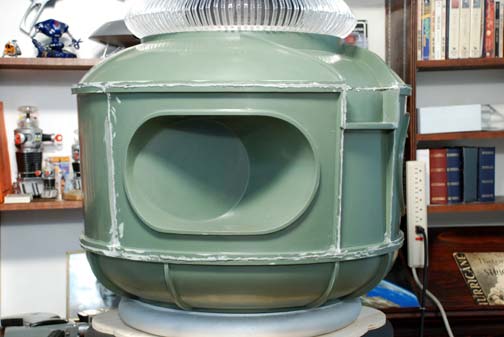
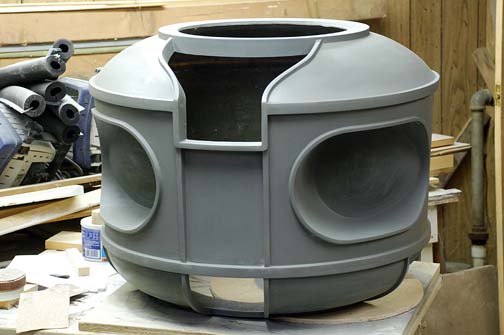
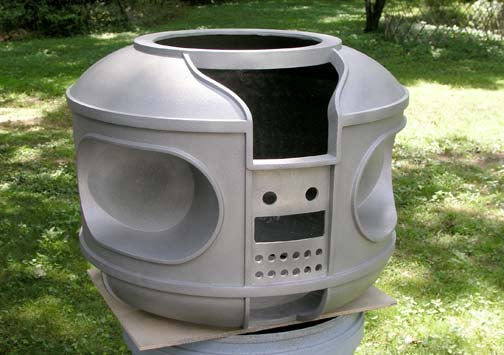
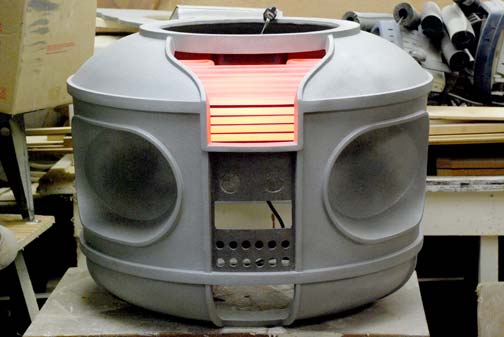
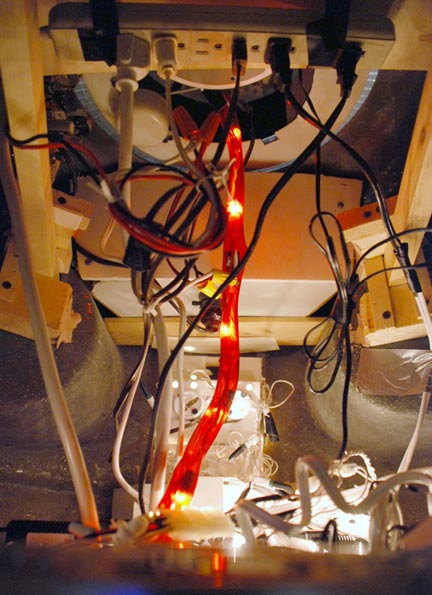
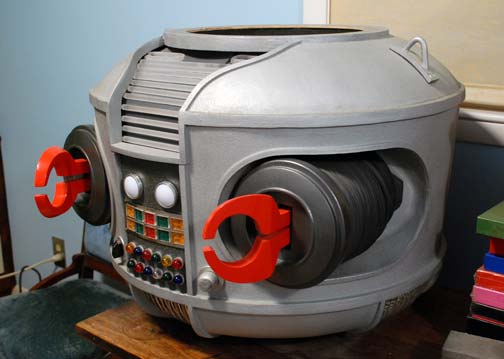
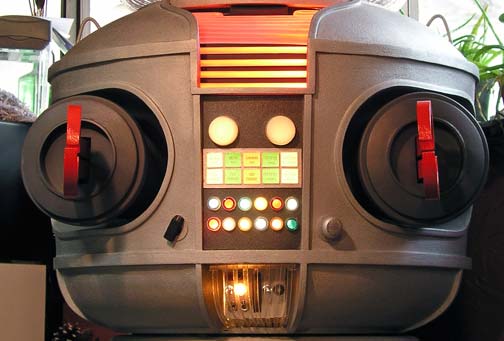
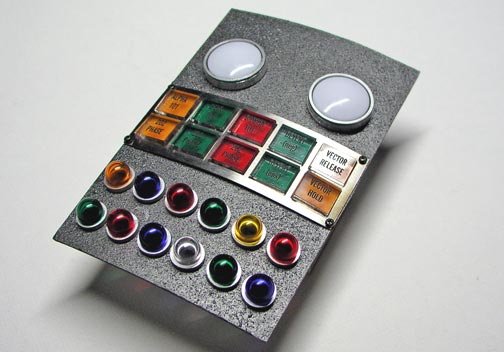
The torso. Mat board for the main body and arm hole inserts. The upper and lower domes are 1/4 inch of bondo formed over a wood and mat board base, roughed out to the approximate shape. The raised detail around the arm holes is a rubber gasket material called "Camper Top Weather Strip" that goes between the cap and body of a pickup truck, available at any auto parts store for 12 - 14 bucks. I also used this material to form the upper part around the pseudo neon because it curves very well and has a self adhesive. My mistakes include not giving myself enough room for the programming bay by going too far back with the curved wood parts around it. Also the 12 belly lights are a bit too high as I had to clear the ring on the lower part of the cylindrical section of the torso. It could be gouged out and corrected in a few hours if I had to. I caulked all the seams with latex (not silicone) caulking. The textured paint (fleck stone) covers a lot of blemishes. I sprayed it with a basic silver, then finished it with a clear dull finish. It really looks like it was molded from cast aluminum, which is exactly what I was going for.bI was going for.

UPDATE

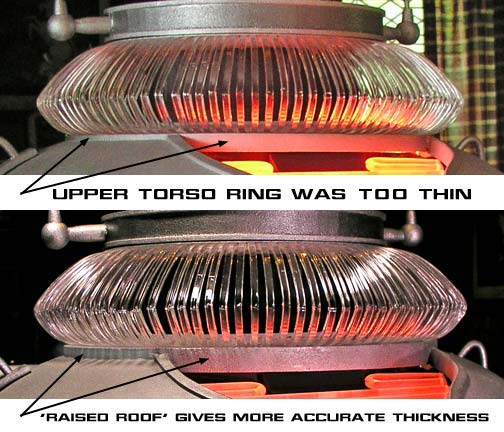
It's just one of those things that bothered me. The upper ring wasn't thick enough so I added the thickness of a piece of paneling to correct it. It was blended with good old wood filler, then sprayed with the Fleckstone texture, then painted and given a matte finish. I was going for.

A cheap alternative to the chest lights is to make them from some plastic carpet protectors for furniture. The edges need to be sanded square with a disc sander, then painted silver. I cut out some plastic from a white video box. It was heated for a few minutes at 325 degrees and formed over a small sphere - in my case a round decorative light bulb. Then I cut out the proper diameter and glued it down to the carpet thing. You can insert colored gels (I used soft plastic translucent CD covers which can be cut with scissors) for the year two or three look. I didn't like the red/green colors myself, as it looks too Christmasy, so I left them white.
UPDATE 2
More than a year and a half after the original torso was "completed" it has gone through several changes. The whole chest insert was remade and the programming bay door now slides opens. The upper ring was extended to the proper thickness as mentioned above. More accurate torso hooks were also added.
• For more original torso improvement shots
CLICK HERE
UPDATE 3
I finally decided to get the real deal. My home made wood and cardboard torso looks fine but weighs somewhere around 125 pounds (56.7 kilos), and is just too heavy to work with and move around. I was amazed at how close I was when comparing measurements. All the existing parts will fit onto it perfectly. I'll be making a new neon unit though. The old torso will someday become a Year 1 black & white robot.
Inside the torso. Egad.
The retired cardboard, wood & Bondo torso